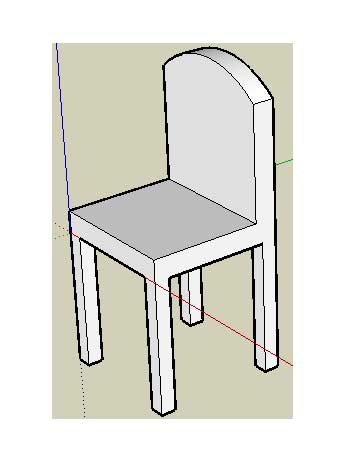
You will create a chair by subtracting volume from a 3D form in this exercise. This exercise is accomplished by creating the profile of a chair on a 3D form and then using the Push/Pull tool to remove the pieces of the form that will not be in the final model. To crate a chair using a subtractive approach:
- Select the Rectangle tool (
 ).
). - Click to set the first corner point of the rectangle.
- Move the cursor diagonally.
- Type
18,18and press the Enter (Microsoft Windows) or Return (Mac OS X) key. Your dimensions appear in the Measurements toolbar and the rectangle will snap to 18 by 18 inches. - Zoom, orbit, and pan to such that your rectangle is large enough to push/pull with the Push/Pull tool. Refer to Viewing a Model in 3D Space for further information.
- Select the Push/Pull tool (
 ).
). - Click on the rectangular face.
- Move the cursor to create (or decrease) volume.
- Type
4'and press the Enter (Microsoft Windows) or Return (Mac OS X) key. Your dimensions appear in the Measurements toolbar and the rectangle will expand up and snap to 4 feet. - Select the Line tool (
 ).
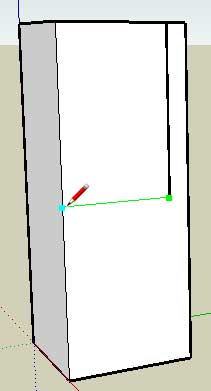
). - Draw a line from a top, horizontal, edge, (vertically) about half-way down your model.
- Draw a line from the ending point of the last line horizontally until you meet a vertical edge.
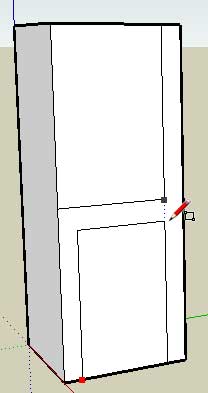
- Select the Rectangle tool (
 ).
). - Draw a rectangle to represent the space between the legs of the chair. The profile of a chair is now drawn on one side of your model.
- Select the Push/Pull tool (
 ).
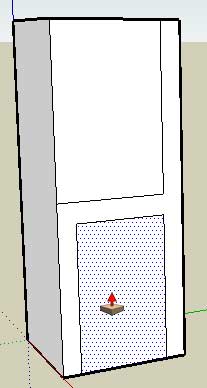
). - Click on the rectangular face you just drew between the legs.
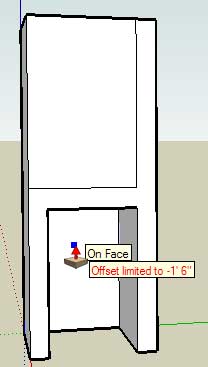
- Push the rectangular face until it meets the back of the model. The tool tip should say 'on face' when the cursor has met the back face of the model.
- Click to remove the area below the seat of your chair. The area below the seat of your chair should disappear.
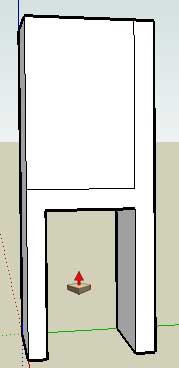
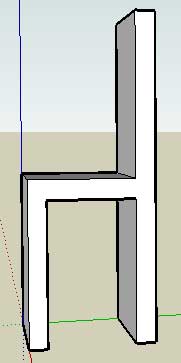
- Remove the area above the seat and against the back by repeating the process you just used to remove the area below the seat. You're model should now closely resemble a 3D chair (without individual legs).
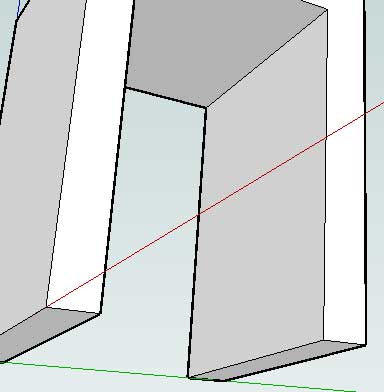
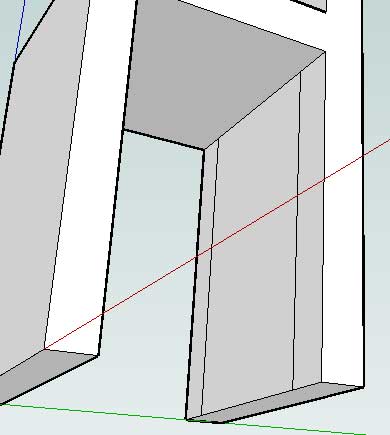
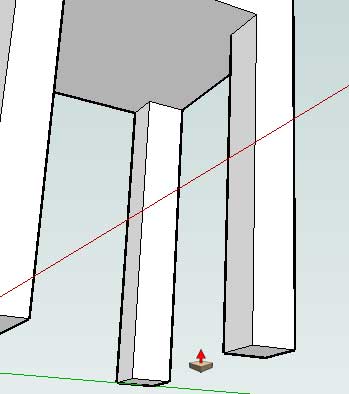
- Zoom, orbit, and pan under the chair so that you are facing the back legs.
- Use the Rectangle tool to draw a rectangle that represents the space between the two back legs.
- Use the Push/Pull tool to remove the area between the back legs.
- Repeat the three previous steps with the front legs.
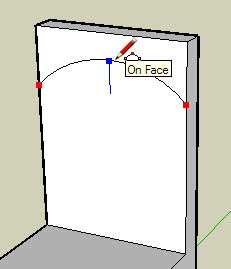
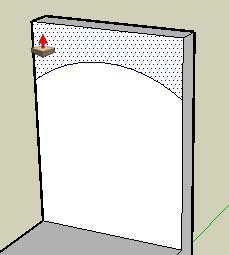
- Draw an arc across the top of the back starting just below the left side of the back of the chair. A separate face will be created at each corner of the top of the chair.
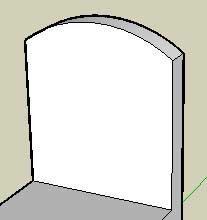
- Use the Push/Pull tool to remove the two areas at the top of the chair and create a rounded chair back.
- Zoom, orbit, and pan to such that you can view the chair in its normal, upright, position. Refer to Viewing a Model in 3D Space for further information.


You will create a chair by starting with a chair seat and adding the legs and back. To create a chair using a additive approach:
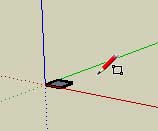
- Select the Rectangle tool (
 ).
). - Click to set the first corner point of the rectangle.
- Move the cursor diagonally.
- Type
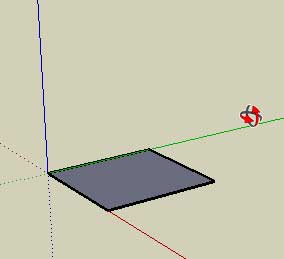
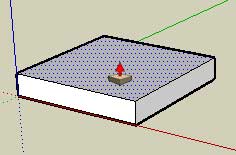
18,18and press the Enter (Microsoft Windows) or Return (Mac OS X) key. Your dimensions appear in the Measurements toolbar and the rectangle will snap to 18 by 18 inches. You are creating a chair seat. - Zoom, orbit, and pan to such that your rectangle is large enough to push/pull with the Push/Pull tool. Refer to Viewing a Model in 3D Space for further information.
- Select the Push/Pull tool (
 ).
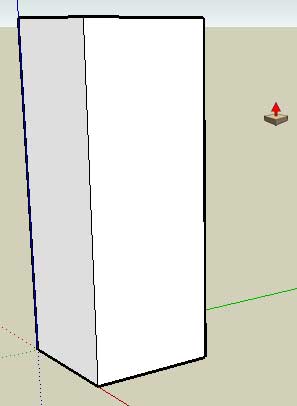
). - Click on the rectangular face.
- Move the cursor to create the seat thickness.
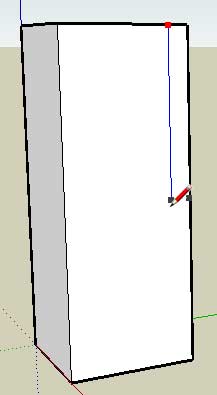
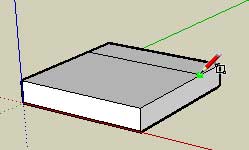
- Draw a line toward the back of the seat to represent the profile of the seat back.
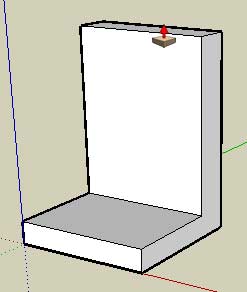
- Use the Push/Pull tool on this rectangle to create the seat back.
- Draw an arc across the top of the back starting just below the left side of the back of the chair. Two separate faces will be created at each corner of the top of the chair.
- Use the Push/Pull tool to remove the two areas at the top of the chair and create a rounded chair back.
- Zoom, orbit, and pan to such that you can view the bottom of the chair seat. Refer to Viewing a Model in 3D Space for further information.
- Select the Tape Measure tool (
 ).
). - Click on one edge of the chair bottom.
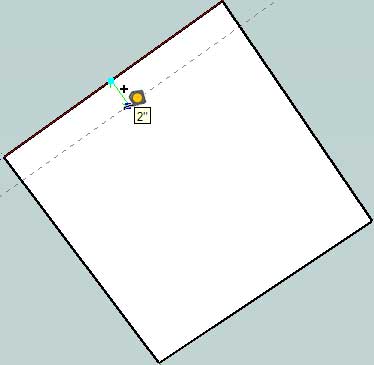
- Move the cursor to away from the edge. A guide line will be drawn perpendicular to the line. Guide lines help you draw geometry to a specific dimension.
- Type
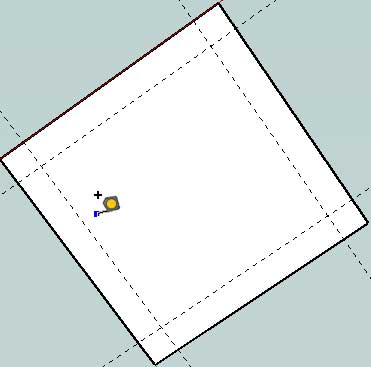
2and press the Enter (Microsoft Windows) or Return (Mac OS X)key. Your dimensions appear in the Measurements toolbar and a guide will be created 2" away from the edge. - Repeat steps 15-17 to create three more guides. Your model should look like the following:
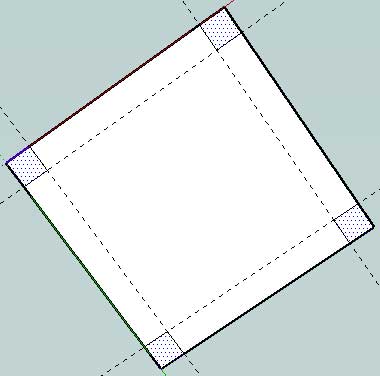
- Use the Rectangle tool to create the profiles of each chair leg within each corner of the chair bottom. The Rectangle tool will snap to each guide in the corner to make accurate 2" x 2" legs. The following picture shows the resulting four rectangular faces in each corner of the chair bottom.
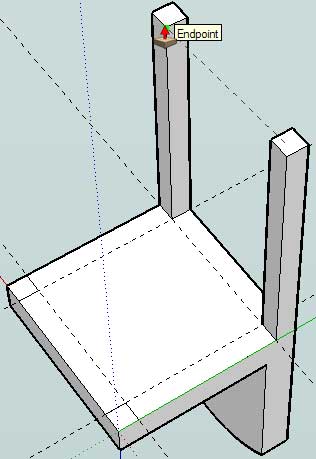
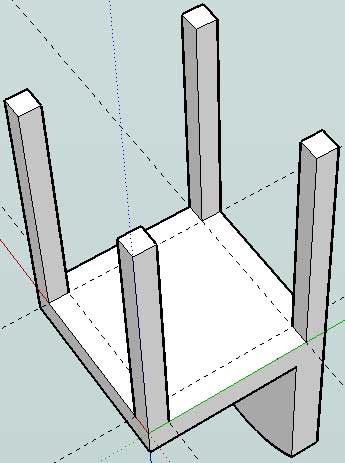
- Use the Push/Pull tool to create the legs from the four faces created in the previous step. You can use inference to align length of the second through fourth leg to the length of the first leg.
- Use the Eraser tool to erase all of your guide lines.
- Zoom, orbit, and pan to such that you can view the chair in its normal, upright, position. Refer to Viewing a Model in 3D Space for further information.






0 komentar:
Posting Komentar